
Wheel & Tire Mounting
Last modified by Eric Nantel on 2023/01/27 14:27
| Tire
Mounting
Updated 12/07/2009. By James Frye. Safety first! Wear eye protection and never touch a powered robot! |
 Tire mounted to the rim. |
|
|
|
| Step 1. The first thing you need to do is use a utility knife or similar to carefully remove any imperfections on the inner part of the rim. This will make things much easier later on. |
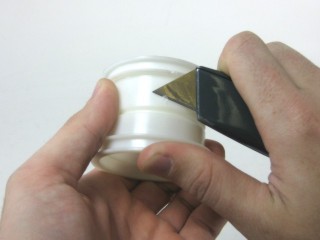 Figure 1. |
| Step 2. Pull once side of the tire out, so that it sticks out like in the image. Insert one side of the rim. It helps to go at an angle in the middle, where the opening is the largest. Rotate the rim slowly while pressing it in to help coax it into place. |
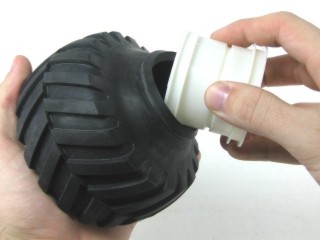 Figure 2. |
| Step 3. You should end up with the tire and rim looking like Figure 3. |
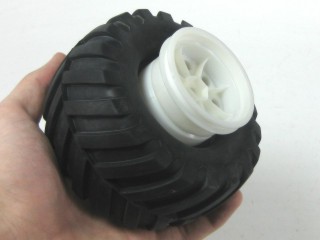 Figure 3. |
| Step
4. Pull that side of the tire out again, so that it looks like Figure 4. |
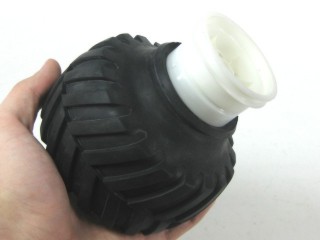 Figure 4. |
| Step
5. This is the tricky part. Press the rim into the tire while rotating it. You want to end up with the rim almost fully into the tire with the bead still sticking out like in Figure 5. If there are any imperfections leftover from Step 1, then it may be difficult to pass the tire over them. |
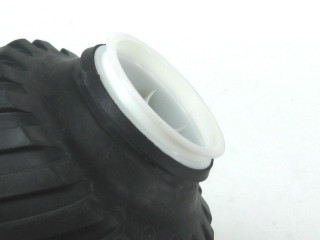 Figure 5. |
| Step
6. Press the rim into the tire from both sides. The bead should now be completely in the flange. |
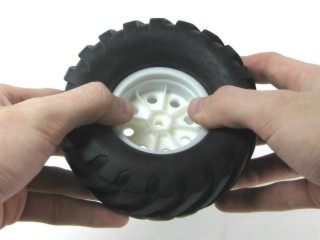 Figure 6. |
| Step
7. Flip the tire over. It should look something like Figure 7. |
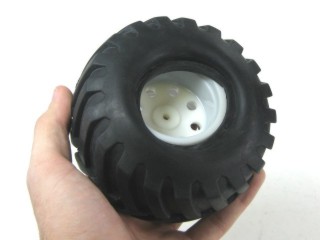 Figure 7. |
| Step
8. Almost half the bead is in the flange. Just hold that side in and pull the rest of the bead away from the center, and it will retract back into the flange. |
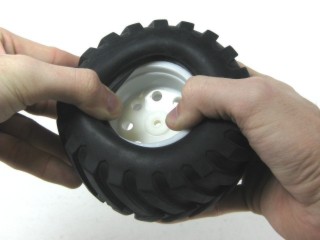 Figure 8. |
| Step
9. There you have it! A perfect tire! |
Figure 9. |